
 대표어
대표어


권호기사보기
| 기사명 | 저자명 | 페이지 | 원문 | 기사목차 |
|---|
결과 내 검색
동의어 포함
Title Page
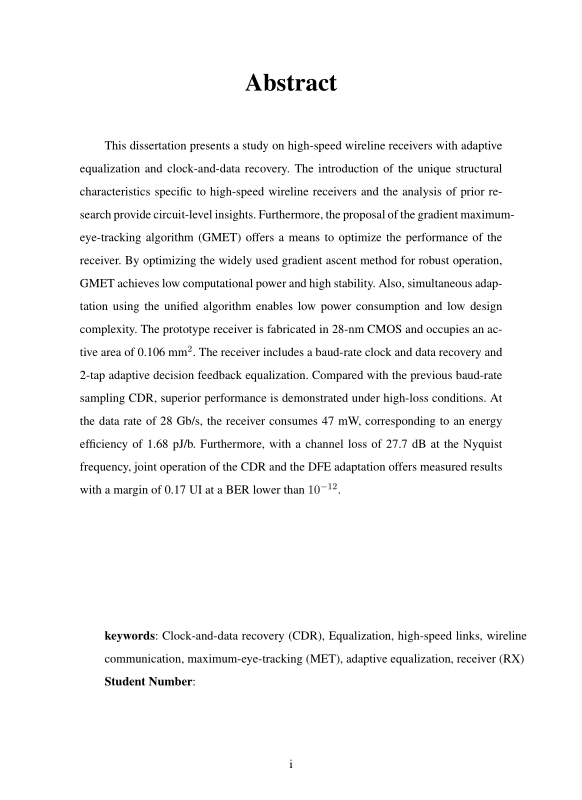
Abstract
Contents
CHAPTER 1. INTRODUCTION 13
1.1. Motivation 13
1.2. Thesis organization 16
CHAPTER 2. BACKGROUND OF HIGH-SPEED WIRELINE RECEIVERS 17
2.1. Overview 17
2.2. Clock-and-Data Recovery 18
2.2.1. Signal-Clock Synchronization 18
2.2.2. Clocking Architecture 21
2.2.3. Clock-and-Data Recovery 24
2.2.4. Jitter Tolerance of the CDRs 26
2.3. Equalization 38
2.3.1. CTLE 38
2.3.2. FFE 43
2.3.3. DFE 46
CHAPTER 3. PRIOR WORKS ON CDR AND EQ ADAPTATION 51
3.1. Overview 51
3.2. Clock-and-Data Recovery 52
3.2.1. Bang-Bang CDR 52
3.2.2. Blind Oversampling CDR 53
3.2.3. Mueller-Müller CDR 54
3.2.4. Minimum Mean Squared Error CDR 57
3.2.5. Sub-rate Sampling CDR 59
3.3. EQ adaptation 60
3.3.1. Least Mean Square 60
3.3.2. BER-based Adaptation 62
3.3.3. EOM-based Adaptation 63
CHAPTER 4. CDR AND DFE ADAPTATION WITH GRADIENT MAXIMUM-EYE-TRACKING 64
4.1. Overview 64
4.2. Vertical Eye Height 65
4.3. Biased Data Level 70
4.4. Gradient Maximum Eye Tracking 74
4.4.1. Sampling Phase Adaptation with GMET 76
4.4.2. DFE Adaptation with GMET 80
4.4.3. Simultaneous Adaptation with GMET 82
4.5. Circuit Implementation 84
4.6. Measurement Results 91
CHAPTER 5. CONCLUSION 97
Bibliography 100
국문초록 108
Figure 1.1. Annual size of the Global Datasphere from [1] 13
Figure 1.2. (a) Doubled data rate of PCIe [2] and (b) data rate increase of various applications. 14
Figure 1.3. (a) Various frequency dependent losses of video cables [3] and (b) power efficiency versus channel loss at Nyquist frequency. 15
Figure 2.1. Classification of signal-clock synchronization: (a) synchronous, (b) mesochronous, (c) plesiochronous, (d) periodic, and (e) asynchronous. 19
Figure 2.2. Cases of embedded clocking: (a) shared reference clock (mesochronous), and (b) distinct reference clocks (plesiochronous). 22
Figure 2.3. Cases of forwarded clocking: (a) source-synchronous, and (b) mesochronous. 23
Figure 2.4. Reconstruction of the analog signal with various sampling rate, fSample.[이미지참조] 24
Figure 2.5. Block diagram of the CDR circuit. 25
Figure 2.6. Data eye diagram with substantial random jitter: (a) Ideal, (b) 100 cycles, (c) 1,000 cycles, and (d) 10,000 cycles. 26
Figure 2.7. Gaussian distribution of jitter 27
Figure 2.8. Effect of (a) slowly varying jitter, and (b) rapidly varying jitter. 29
Figure 2.9. Block diagram of the conventional PLL-based CDR. 30
Figure 2.10. (a) Jitter transfer functions of the embedded clocking CDR with various corner frequencies (ω−3dB), and (b) the corresponding jitter tolerance curves. 32
Figure 2.11. The time domain jitter profile of the embedded clocking CDR. 33
Figure 2.12. JTOL curves of forwarded clocking architecture with different Tskew.[이미지참조] 35
Figure 2.13. Block diagram of the DLL-based CDR. 36
Figure 2.14. Input and output clocks of DLL. 36
Figure 2.15. (a) RC passive linear EQ, and (b) RC-degenerated active linear EQ. 38
Figure 2.16. SBR: (a) without EQ, (c) with the passive linear EQ, (e) with the RC-degenerated active linear EQ and data eye diagram: (b) w/o EQ, (d) with the passive... 41
Figure 2.17. (a) Conventional 2-stage CTLE, (b) conventional RC-degenerated CTLE with inductive peaking, (c) feed-forward CTLE, and (d) CTLE with Cherry-Hooper topology. 42
Figure 2.18. Block diagram of the conventional FIR filter. 43
Figure 2.19. (a) SBR w/o EQ, (b) data eye diagram w/o EQ, (c) SBR with the 3-tap FFE, and (d) data eye diagram with 3-tap FFE. 45
Figure 2.20. Block diagram of the conventional DFE. 46
Figure 2.21. (a) SBR of the 15-dB loss channel, (b) corresponding data eye diagram, (c) SBR of the 15-dB channel with 3-tap DFE, and (d) data eye diagram with 3-tap DFE. 47
Figure 2.22. Block diagram of the loop-unrolled DFE. 49
Figure 3.1. (a) BBPD update table and (b) lock point of BBPD. 52
Figure 3.2. (a) Bit boundary detection and data sample selection of 5x blind over sampling CDR and (b) probability distributions of sampled data. 53
Figure 3.3. The timing recovery principle of MM CDR. 55
Figure 3.4. (a) SS-MMPD update table and (b) lock point of SS-MMPD. 56
Figure 3.5. (a) Data recovery and (b) clock recovery of the sub-rate sampling CDR from [32]. 59
Figure 3.6. (a) BER-based adaptation algorithm from [37] and (b) from [38]. 62
Figure 3.7. (a) EOM to detect the effective eye-opening area and (b) example of the EOM operation: EOM output versus sampling timing with various threshold voltages. 63
Figure 4.1. Simulated (a) BER and (b) voltage margin contour and the convergence points of SS-LMS, maximum voltage margin, and minimum BER. 65
Figure 4.2. Model of transmission line: (a) lumped RLGC and (b) frequent dependent lossy model. 66
Figure 4.3. Example of SBR and discrete cursor value. 67
Figure 4.4. Eye level dispersion according to the cursors. 69
Figure 4.5. Divided eye levels by h₋₁ and hresi,max.[이미지참조] 71
Figure 4.6. Bdlev is lowered from h₀ - |h₋₁| by △d when there exists AWGN. 73
Figure 4.7. Normalized h₋₁ versus normalized △d. 73
Figure 4.8. Flow chart of the control code for coefficient, C. 75
Figure 4.9. Illustration of sampling phase adaption with GMET. 76
Figure 4.10. Measured VEH according to sampling phase through behavior simulation. 76
Figure 4.11. Simulated convergence point of MM CDR and GMET CDR on (a) SBR and (b) eye diagram. 78
Figure 4.12. Behavior simulation results over (a) various update gain α and (b) various patterns with different run lengths. 79
Figure 4.13. Illustration of DFE adaptation with GMET. 80
Figure 4.14. Measured VEH according to w₁ through behavior simulation. 81
Figure 4.15. Lock point comparison of CDR with and without simultaneous 2-tap DFE adaptation using GMET on (a) SBR and (b) eye diagram. 83
Figure 4.16. Block diagram of the prototype receiver. 84
Figure 4.17. (a) Die photograph and (b) power consumption. 85
Figure 4.18. (a) Schematic of CTLE with Cherry-Hooper topology and AC simulation corresponding to (b) RCTRL and (c) VCTRL.[이미지참조] 87
Figure 4.19. Schematic of (a) the comparator and simulation results: (b) Delay for 1st and 2nd tap feedback data and (c) Offset Monte Carlo simulation.[이미지참조] 88
Figure 4.20. Schematic of (a) CML summer with 2-tap feedback and (b) Strong-ARM comparator. 89
Figure 4.21. Schematic of (a) PI and simulation results: (b) delay and (c) linearity. 90
Figure 4.22. Measurement setup. 91
Figure 4.23. Measured insertion channel losses: SMA cable, channel emulation board and FR4 trace. 92
Figure 4.24. Measured eye diagrams (a) from PPG, (b) after the channel. 92
Figure 4.25. Measured jitter tolerance curve for BER 〈 10⁻¹². 93
Figure 4.26. Measured 7-GHz recovered clock and its jitter histogram. 93
Figure 4.27. Measured bathtub curves without DFE and with DFE. 94
Figure 4.28. Measured Bdlev codes over sampling phases without DFE and with DFE. 95
*표시는 필수 입력사항입니다.
| 전화번호 |
|---|
| 기사명 | 저자명 | 페이지 | 원문 | 기사목차 |
|---|
| 번호 | 발행일자 | 권호명 | 제본정보 | 자료실 | 원문 | 신청 페이지 |
|---|
도서위치안내: / 서가번호:

우편복사 목록담기를 완료하였습니다.
*표시는 필수 입력사항입니다.
저장 되었습니다.
