대표어
대표어
 https://www.nrc.gov/reading-rm/doc-collections/nuregs/agreement/ia0557/
권호기사보기
| 기사명 | 저자명 | 페이지 | 원문 | 기사목차 |
|---|
결과 내 검색
동의어 포함
Title page 1
Contents 5
ABSTRACT 4
ACKNOWLEDGMENTS 8
ABBREVIATIONS AND ACRONYMS 9
1. INTRODUCTION 11
2. PSB-VVER TEST FACILITY 12
3. CL-4.1-03 EXPERIMENT 14
4. TRACE MODELS 16
5. STEADY STATE EVALUATION 23
6. QUALITATIVE ASSESSMENT OF THE SIMULATION RESULTS 25
7. QUANTITATIVE ASSESSMENT OF THE SIMULATION RESULTS 36
8. CONCLUSIONS 40
9. REFERENCES 42
Figure 2-1. Design of the PSB-VVER Test Facility 12
Figure 3-1. Break Unit in Test 3 of PSB-VVER 14
Figure 4-1. RPV Nodalization (Top: AZIM4, AZIM1; Bottom: PIPE) 17
Figure 4-2. Pressurizer Nodalization 19
Figure 4-3. Loop #4 with the Break Unit 20
Figure 4-4. Hydroaccumulator Models 21
Figure 4-5. Radial Sectors in the Bottom Part of SG Model (Figure From - Modified) 22
Figure 4-6. Secondary Side Nodalization 22
Figure 6-1. Primary Pressure Evolution 29
Figure 6-2. Integral Break Mass Flow 29
Figure 6-3. Pressure Vessel Water Level 30
Figure 6-4. Pressure Differential in the UP 30
Figure 6-5. Pressure Differential in the Core Section 31
Figure 6-6. Loop Seal #1 Differential Pressure 31
Figure 6-7. Loop Seal #4 Differential Pressure 32
Figure 6-8. Cladding Temperature (Top of FRS) 32
Figure 6-9. Water Level of Hydroaccumulator #4 33
Figure 6-10. Water Level of Hydroaccumulator #2 33
Figure 6-11. Downcomer Coolant Temperature 34
Figure 6-12. Upper Plenum Coolant Temperature 34
Figure 6-13. Secondary Side Pressure in SG #4 35
Figure 6-14. Water Level in SG #4 35
*표시는 필수 입력사항입니다.
| 전화번호 |
|---|
| 기사명 | 저자명 | 페이지 | 원문 | 기사목차 |
|---|
| 번호 | 발행일자 | 권호명 | 제본정보 | 자료실 | 원문 | 신청 페이지 |
|---|
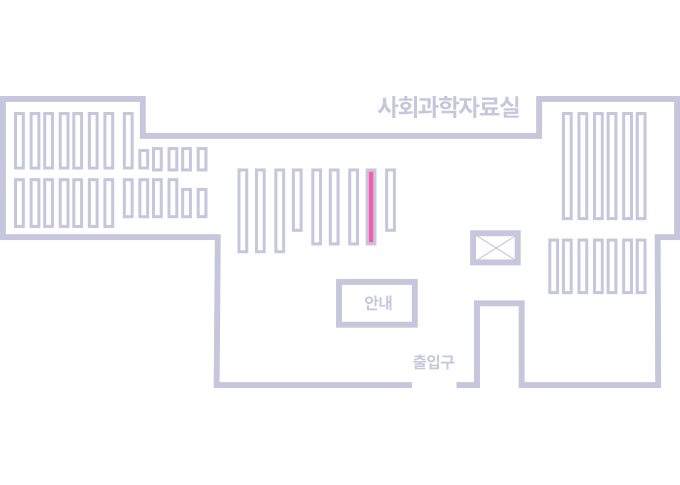
도서위치안내: / 서가번호:
우편복사 목록담기를 완료하였습니다.
*표시는 필수 입력사항입니다.
저장 되었습니다.