대표어
대표어
 https://www.nrc.gov/reading-rm/doc-collections/nuregs/agreement/ia0548/
권호기사보기
| 기사명 | 저자명 | 페이지 | 원문 | 기사목차 |
|---|
결과 내 검색
동의어 포함
Title page 1
Contents 6
ABSTRACT 4
FOREWORD 5
EXECUTIVE SUMMARY 10
ABBREVIATIONS AND ACRONYMS 12
1. INTRODUCTION 14
2. DESCRIPTION OF ATLAS FACILITY 16
3. DESCRIPTION OF THE OECD-ATLAS2 B3.2 TEST 19
4. DESCRIPTION OF TRACE INPUT MODELS 23
4.1. Reactor Pressure Vessel 23
4.2. Pressurizer 24
4.3. Steam Generator 24
4.4. Intermediate Leg and Counter Current Flow Limitation Model 24
4.5. Break Piping System 24
4.6. Main Steam Safety Valve 25
4.7. Ransom-Trapp Model 25
4.8. Heat Loss 25
5. STEADY-STATE CALCULATION 29
6. RESULTS AND DISCUSSION 31
6.1. Sequence of Events 31
6.2. Transient Calculation 33
6.3. Sensitivity Studies 47
6.3.1. Break Size 47
6.3.2. Break Position 51
7. CONCLUSIONS 57
8. ACKNOWLEDGEMENTS 59
9. REFERENCES 60
Figure 2-1. Schematic Diagram of Loop Connection of ATLAS 17
Figure 2-2. Three-Dimensional View of ATLAS 18
Figure 3-1. Location of the Break Unit and SI System 21
Figure 3-2. Isometric Drawing of the Break Flow Piping 22
Figure 4-1. Schematic Nodalization of TRACE for ATLAS2 B3.2 Test 26
Figure 4-2. Radial Rings of the Core 27
Figure 4-3. Azimuthal Sectors of the Core 27
Figure 4-4. Nodalization of Intermediate Leg 28
Figure 4-5. Nodalization of Break Piping System 28
Figure 6-1. Normal Core Power 33
Figure 6-2. Choking Flag 34
Figure 6-3. RPV and SG Pressures 35
Figure 6-4. Integrated Mass of Discharge Flow 36
Figure 6-5. Mass Flow Rate of SIPs 37
Figure 6-6. Mass Flow Rate of SITs 38
Figure 6-7. Collapsed Water Level in SG1 and SG2 39
Figure 6-8. Collapsed Water Level in SITs 40
Figure 6-9. Mass Flow Rate of Hot Legs 40
Figure 6-10. Mass Flow Rate of Cold Legs 41
Figure 6-11. Collapsed Water Level of Intermediate Legs 43
Figure 6-12. Maximum Cladding Temperature 44
Figure 6-13. Collapsed Water Level of Core and Downcomer 46
Figure 6-14. Cladding Temperature and Collapsed Water Level 46
Figure 6-15. Integrated Mass of DVI Discharge Flow at Different Break Sizes 48
Figure 6-16. RPV Pressure at Different Break Sizes 49
Figure 6-17. Integrated Mass of MSSV Discharge Flow at Different Break Sizes 49
Figure 6-18. Maximum Cladding Temperature at Different Break Sizes 50
Figure 6-19. Collapsed Water Level of the Core at Different Break Sizes 50
Figure 6-20. Integrated Mass of DVI Discharge Flow at Conservative Break Positions 53
Figure 6-21. RPV Pressure at Conservative Break Positions 53
Figure 6-22. Maximum Cladding Temperature at Conservative Break Positions 54
Figure 6-23. Collapsed Water Level of the Core at Conservative Break Positions 54
Figure 6-24. Integrated Mass of DVI Discharge Flow at Non-Conservative Break Positions 55
Figure 6-25. RPV Pressure at Non-Conservative Break Positions 55
Figure 6-26. Maximum Cladding Temperature at Non-Conservative Break Positions 56
Figure 6-27. Collapsed Water Level of the Core at Non-Conservative Break Positions 56
*표시는 필수 입력사항입니다.
| 전화번호 |
|---|
| 기사명 | 저자명 | 페이지 | 원문 | 기사목차 |
|---|
| 번호 | 발행일자 | 권호명 | 제본정보 | 자료실 | 원문 | 신청 페이지 |
|---|
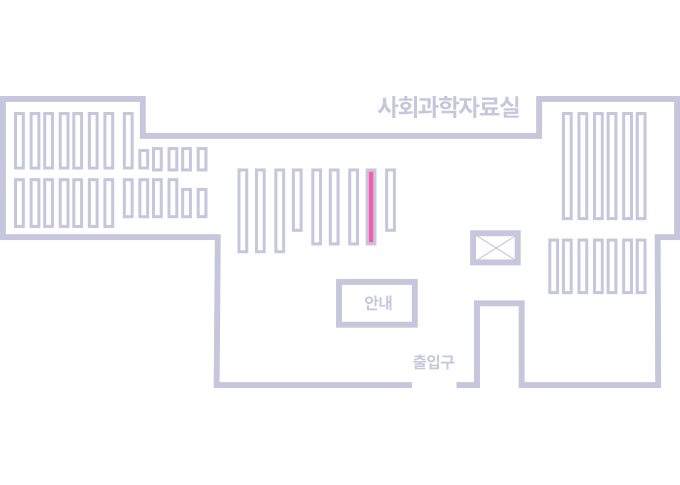
도서위치안내: / 서가번호:
우편복사 목록담기를 완료하였습니다.
*표시는 필수 입력사항입니다.
저장 되었습니다.